Students
This lesson shows how to customise the Student section in Framer: swap images, edit feature cards and text from the properties panel, and dive into components like badges and widgets for deeper styling tweaks.

Learnoverse Instructor / Senior Product Designer
Allie Walters
Beginner
2:01
Lesson Transcript
Hello and welcome to this “landing page” tutorial, part of a 5-module series on how to use the Learnoverse template. This tutorial dives into how to edit the “Student” section on the landing page.
Each of the lessons has been carefully crafted so that you can dip in and out as and when you need the relevant support.
In this “landing page” tutorial, you’ll learn how to customise the Student section for your own Learnoverse.
Let’s get into how.
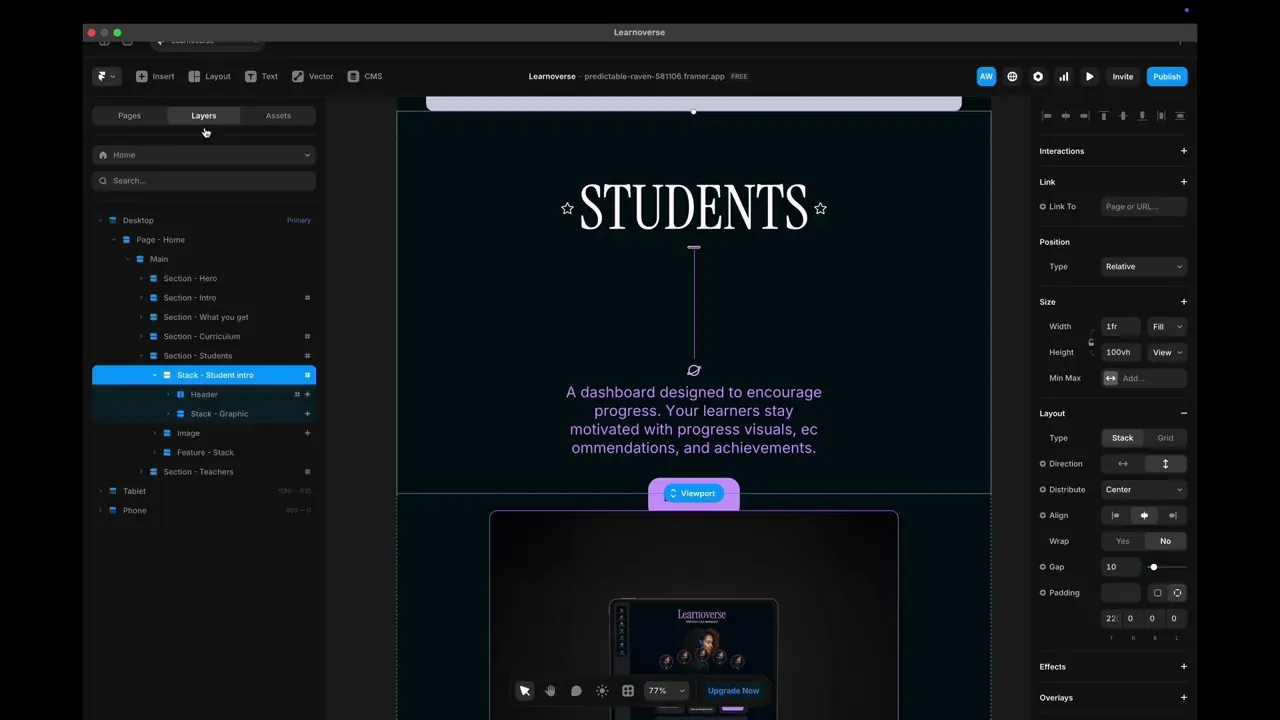
Head over to the left panel in Framer and ensure you are on the “Home” page.
Click the “layers” panel at the top to expand all layers and see how this section has been structured.
To edit the dashboard image, click on the image layer and head over to the right panel to edit the image.
To edit the “Card features” one to four, click on the “Overview feature component” and head over to the right panel to edit the title text and number content.
You can edit all other components by clicking on them, heading over to the right panel, and changing the text or image.
It’s important to note that the “Badges title”, “Certificate”, and “Widget-progress” components can all be edited further by double-clicking and editing directly from their component page.
That’s it for now.
For more information on how to edit text styles, colours, padding, shapes, and scroll sections, head over to the official Framer Academy resources. I’ve popped the link on this Learnoverse lesson page.
Start customising your landing page student section now, and I’ll see you in the next tutorial.