Top nav
This lesson covers editing the top navigation in Framer: open the Navbar component, tweak styles, links, and buttons, and update each device variant separately, including hidden expanded menus.

Allie Walters
Learnoverse Instructor / Senior Product Designer
Beginner
3:58
Lesson Transcript
Hello and welcome to the second tutorial in this 5-module series on how to use the Learnoverse template.
Each of the lessons has been carefully crafted so that you can dip in and out as and when you need the relevant support.
In this “Top Navigation” tutorial, you’ll learn how to customise the navigation for your own Learnoverse.
Framer has made it super easy for you to edit designs, so let’s get into how.
The first thing to do is to head over to the homepage.
Once you’re on the homepage, double-click the top navigation bar to view the layout template.
Learnoverse uses a layout template on the landing page, which you can easily repeat should you wish to expand your Leanoverse pages.
On the Learnoverse layout page, you will see the top navigation component and the footer.
Head over to the layers panel on the left and click the “Navbar” component. This is a purple diamond shape to indicate a component.
Once you’re on the navigation component page, you’ll see two closed menu variants and 3 open menu variants, which are for desktop, tablet and mobile.
The primary desktop menu is where you’ll make edits to the desktop menu's open and closed states.
To change the menu button colour or shape, simply click the circle and head over to the right panel. You can change the colour by going to Fill and either editing the apricot colour or adding a new style. You can rename the style by right-clicking on the name of the style and choosing “Rename”.
To change the button on the top right, double-click the button component, as indicated by the purple diamond, and edit styling, such as colours, text, corners and padding by using the right panel.
To edit the expanded version of the primary open state on desktop, you will need to
“Unhide” the expanded menu to make these edits.
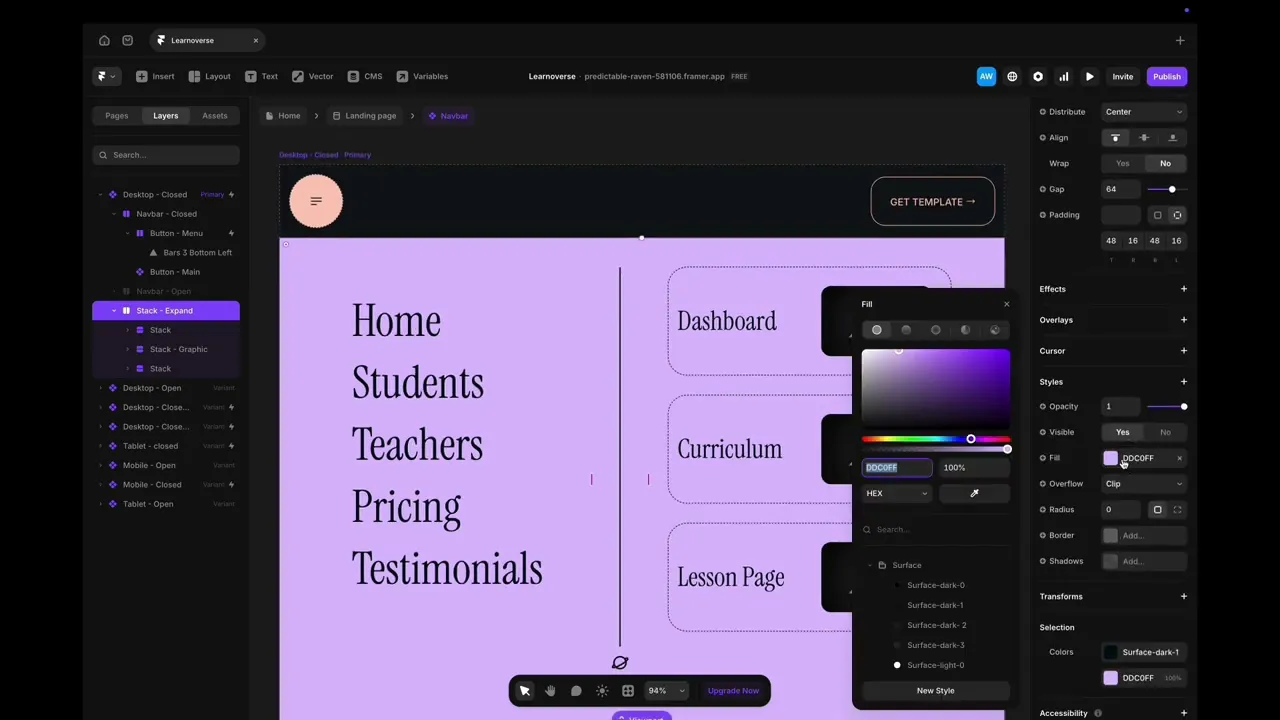
To do this head-over to the left properties panel, click on the hidden “Stack-Expand” top layer, and right-click “show”.
To make any changes to the background colour, simply click on the background colour and go to the right panel. You will see “Fill”, where you can enter any new colour.
To make changes to text, simply click on the text area, change the text and then head back to the right properties panel, where you can link to a different page should you wish to.
The Home, dashboard, curriculum and lesson page links all go to pages. The Students, Teachers, Pricing and Testimonials links all go to sections on the homepage.
In the right-hand properties panel, you can see links are attributed to the homepage, and then a scroll section on the homepage.
Now hide the expanded navigation by going to the left-hand panel, right-clicking and clicking “hide”.
It’s important to note that you’ll need to make edits to the desktop, tablet and mobile menus separately, since they each show slightly different versions.
For more information on Links, editing text styles, colours, and padding, please head over to the official Framer Academy resources. I’ve popped the link on this Learnoverse lesson page.
Start customising your navigation bar, and I’ll see you in the next tutorial.