404 page
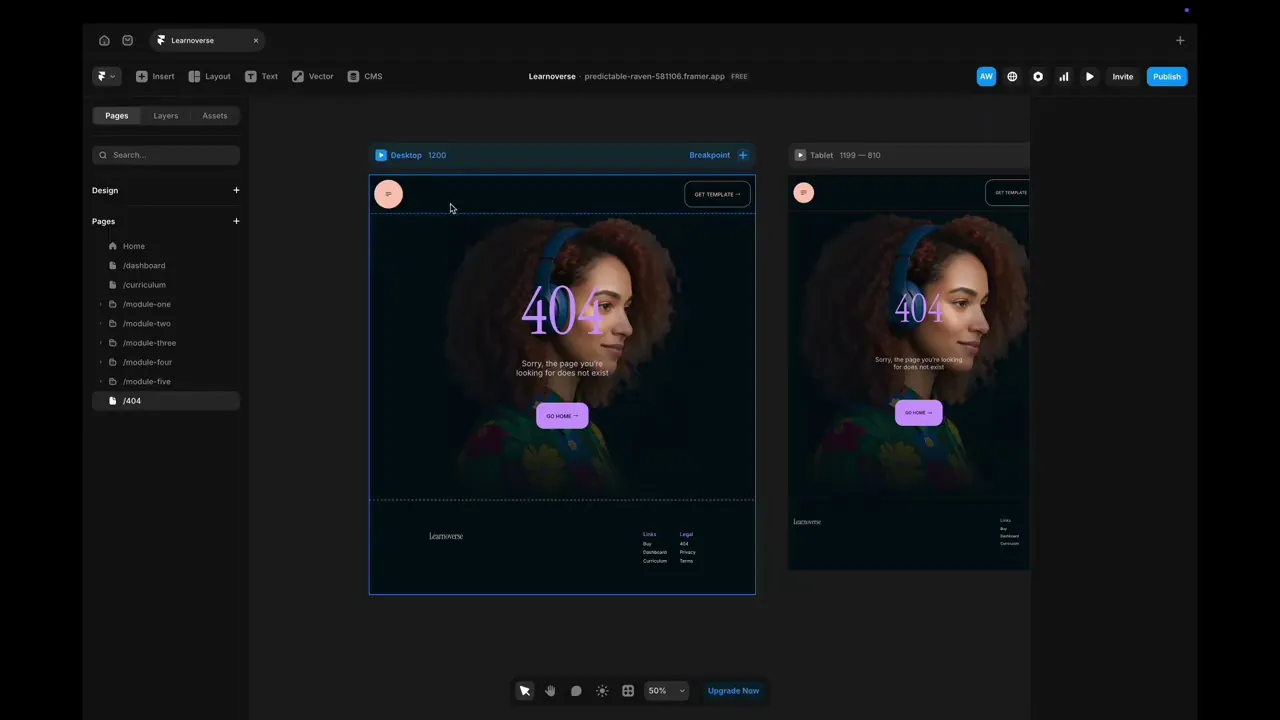
This lesson shows how to customise the 404 page in Framer: click to edit text, swap images via the fill panel, and update button text and links—all directly from the right-hand properties panel.

Allie Walters
Learnoverse Instructor / Senior Product Designer
Beginner
1:31
Lesson Transcript
Hello and welcome to the fourth tutorial in this 5 module series on how to use the Learnoverse template.
Each of the lessons have been carefully crafted so that you can dip in and out as and when you need the relevant support.
In this “404 page” tutorial, you’ll learn how to customise the 404 page for your own Learnoverse.
Framer has made it super easy for you to edit designs, so let’s get into how.
The first thing to do is to head over to the 404 page in the left-hand panel in Framer..
Once you’re on the 404 page, simply click on the areas to edit.
With Framer, you can easily go to the area in the template you’d like to edit with just one click.
To edit the image, simply click on the image container, go to the right-hand panel, click “fill” and upload your image from there.
To edit any of the text, simply click on the text area you want to change, and head over to the right-hand panel to change text styles and colours.
To edit the text on the button, click the button and edit the button text and links in the right-hand panel.
That’s it!
For more information on Links, editing text styles, colours, and padding, please head over to the official Framer Academy resources. I’ve popped the link on this Learnoverse lesson page.
Start customising your 404 page, and I’ll see you in the next tutorial.